Thursday 31 May 2012

To marble the paper

Now, we have went through all the important preparatory steps , we go on to the actual parocess of Marbling.  If this is your first attempt, start out with a few colours, at most three. Mix them and test them as per;
 Fill your through with size to about 3-6 cm. of size.  Make sure that it is warmish.

 Every time before tou want to marble a sheet, you must "skim"the size, by passing a thin slat of wood, or strip of paper over the surface of the size. This must be done, as the size develops a "skin", ( like in a soup), and this skin will interfere with your colours.

 
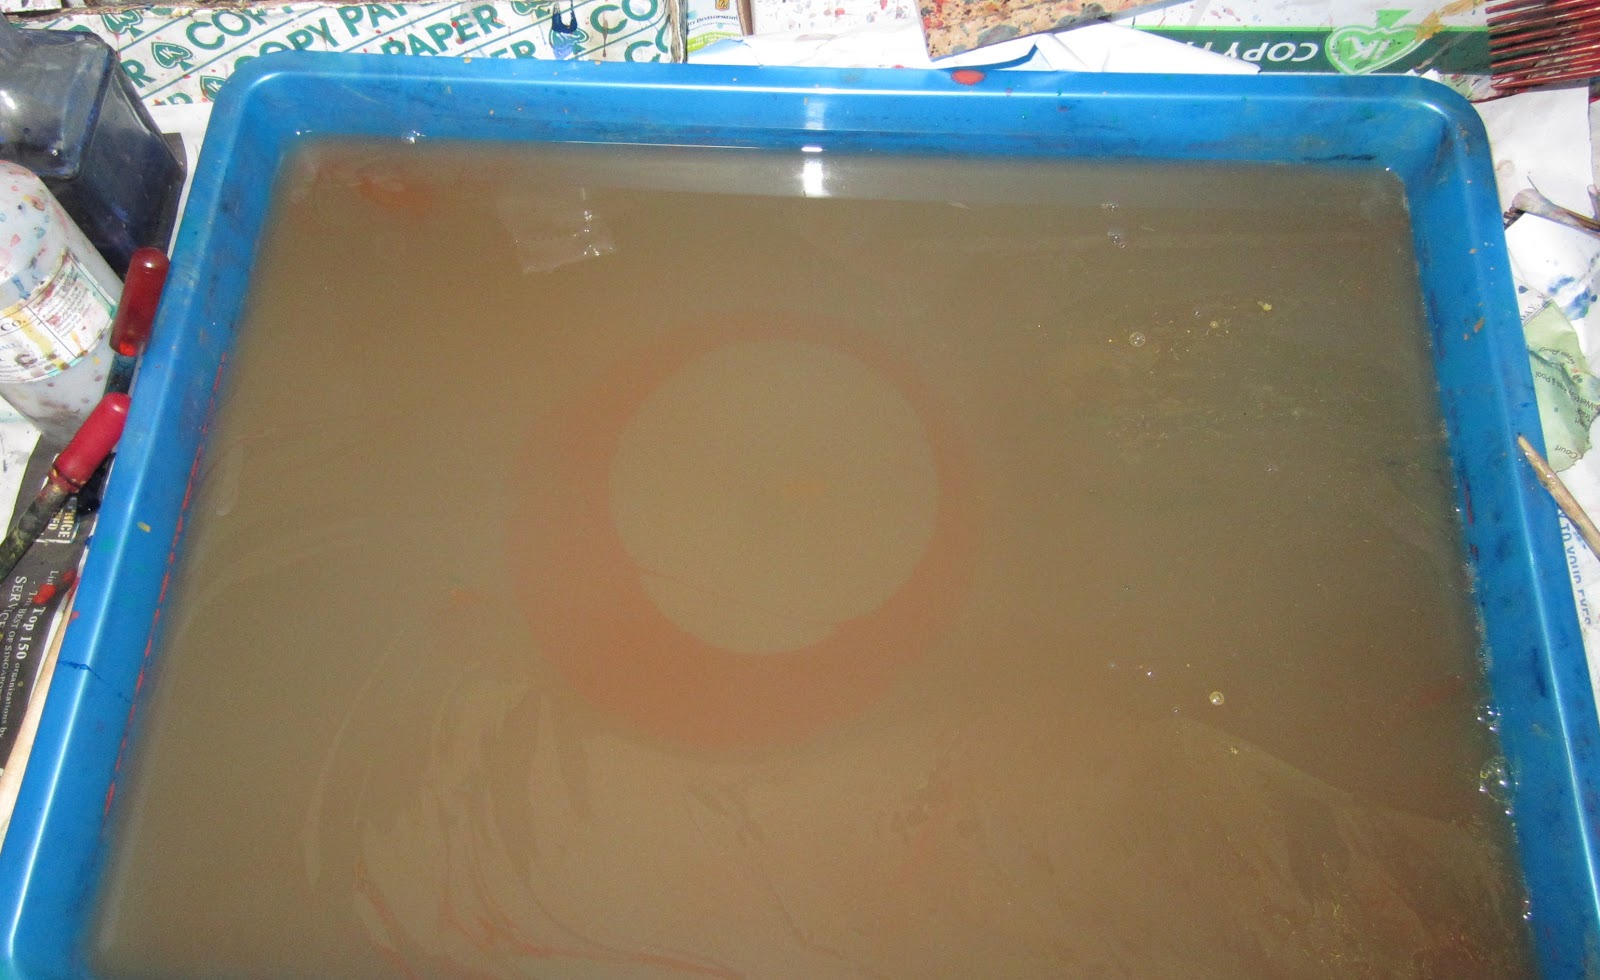
 Drop on your first colour. It should spread out .

 Drop on the second colour. It should spread over the first, and push it into a "vein" ( see the testing stage)

Drop on the third, if you have one.

What you have now made is called a "stone" pattern, due to it's resemblance to the coloured forms in stones like agate.

It is now time to transfer the design to a sheet of paper.

 Take a sheet of paper previously alumed,and hold it by opposite corners.
Lay the sheet ( A) , alumed side down,  on the bath.
This is done by putting the corner nearest to you on the surface of the bath. ( C) Then, let down the other corner (B) in one smooth motion.

The sheet may be removed from the bath. It is then rinsed gently with water, (to remove the size) and left to dry.

The sheet should be placed on a board, set at an angle, to dry. This allows the water and excess colours to run off. This makes the paper look brighter.
 You can then proceed to marble the next sheet, by repeating the above steps. Just remember to skim the size before appling the colours.

Once you have obtained a relative mastery of doing this, you can proceed to more complex patterns. Just remember,
Nothing ventured , Nothing gained!

Wednesday 16 May 2012

Preparing and testing the colours

Before the gouaches and watercolours can be used for marbling, they must be diluted, and mixed with Ox-gall. However, if you are using water-based marbling paint , you do not need to dilute them, but simply mix in gall.

1-take a small amount of the gouache/watercolour, and squeeze it into the cup.
2- add in a few drops of gall. Six or so drops is a good starting point, but some colours need more gall than others.

steps 1 & 2
3- mix well with a brush
4- add in water to fill the cup, stirring all the while.

Now, Preparing the colours requires some degree of skill. Some pigmnts ( like the cadmiums and some earths) are dense in nature, and so need to be diluted more. Others, like the platato colours, are light by nature, and therefore need less gall.

Once the colours are mixed, you can begin testing them.

Firstly, "skim "the size. To do this, drag a piece of paper or a slat of wood over the size. This is done to remove the "skin" on the size, ( much like a soup), which will stop the colours from spreading.

Then drop on your first colour. It should spread like this; to a circle about 2-3 inches across

1st colour
The second color you intend to use must have a little more gall than in the first so that it can spread out over the first. 

2nd colour on
Do the same with your third and fourth colours. [if you have them] In either case, the colour should not sink, but spread over the colour previously put on.  Keep this order in mind whan you apply the colours during marbling. 

                                              3rd colour on                                 4th colour on
 There is no fixed amount of gall to be used. Some colours require more than others. However, If you are using HUGE amonts of gall, to no effect, something is amiss. Either
1- Your colours are too thick  - Try watering them down
2- The gall is weak. This is a common problem with gall meant for watercolour. - switch to a diffent brand, or one from a marbling supplier.

 If, however, the colours do not spread much, and you have found that the gall is not the culprit, then there is something wrong with the size.
 3- The size is too thick - Add some water to thin it down
 4- Size too cold- add some hot water
 5- Did you skim the size?

Sometimes, you may find that the colours look grainy on the size. Not to worry, add some drops of alcohol.